
I think when it comes to jam, everyone has their favorite they like to spread on fresh toasted bread. I use to buy my favorite jam from Costco in South Carolina. We use to take trips there because Savannah didn't have a Costco. Since moving back to
Washington State I've found the same brand, but not the same flavor of the jam I loved so much. I've been wanting to make my own jam for years now, but I always thought it would be too difficult. I finally gave it a try the other day, and i'm never turning back. It was so much easier than I thought and the jam turned out tasting the same, if not better then what I use to buy from Costco. See for yourself.
Local farm fresh strawberries.

I cleaned and topped the strawberries.

I decided to macerate the fruits overnight because it cut out a lot of cooking time. Macerated fruit is one of the yummiest topping for pancakes or waffles. You just put sugar on cleaned cut fruit, let it sit overnight and in the morning you have a delicious topping. The fruits I used were Strawberries, Cherries, Raspberries, and Rhubarb. I used a 2:1 ratio, fruit to sugar. Some people were saying to do 2:2 but I couldn't imagine using that much sugar.

In the morning I grabbed my fruit filled pot and put it on the stove. The temp I used for almost the whole process was medium heat and it took about an hour of mixing. You want to mix a lot so your fruit doesn't burn on the bottom. Your jam is ready to can when it reaches 217 degrees Fahrenheit. Chunky large pieces of fruit in my jam is not my favorite, so I used my emulsifier to puree everything into a nice smooth jam. I also strained out almost all the seeds, and i'm glad I did because there were a lot!

I know this might not be the perfect way to create the seal on your jars, but I talked to a few people and this is how they did it. It worked great for them, and it was easy so I guess I took the easy way out. My jam was very very hot when canning, I used a oven-mitt to hold and screw the caps on. That being said, I thought it was hot enough to create a seal. Some people boil the jars to create the seal. Your jam and jars needs to be hot enough to warm up the rubber and create a nice seal with the glass lip of your jar. You know you have a perfect seal when the center of your lid doesn't pop up and down like an opened Snapple lid.

When you have a 22 month old hugging your leg, wanting to be picked up, your labels don't turn out that pretty. I'll be better prepared next time and write pretty labels during nap time.
I didn't have any fresh bread for toast in the house, so I decided on making something quick and delicious that pairs perfectly with jam, biscuits! They are so easy and quick to make, and you can also make savory versions when you don't have jam, by adding cheese, chives and bacon in the dough.

I rolled mine out a bit too thin. I would suggest rolling it thick enough to get about 10-12 biscuits.

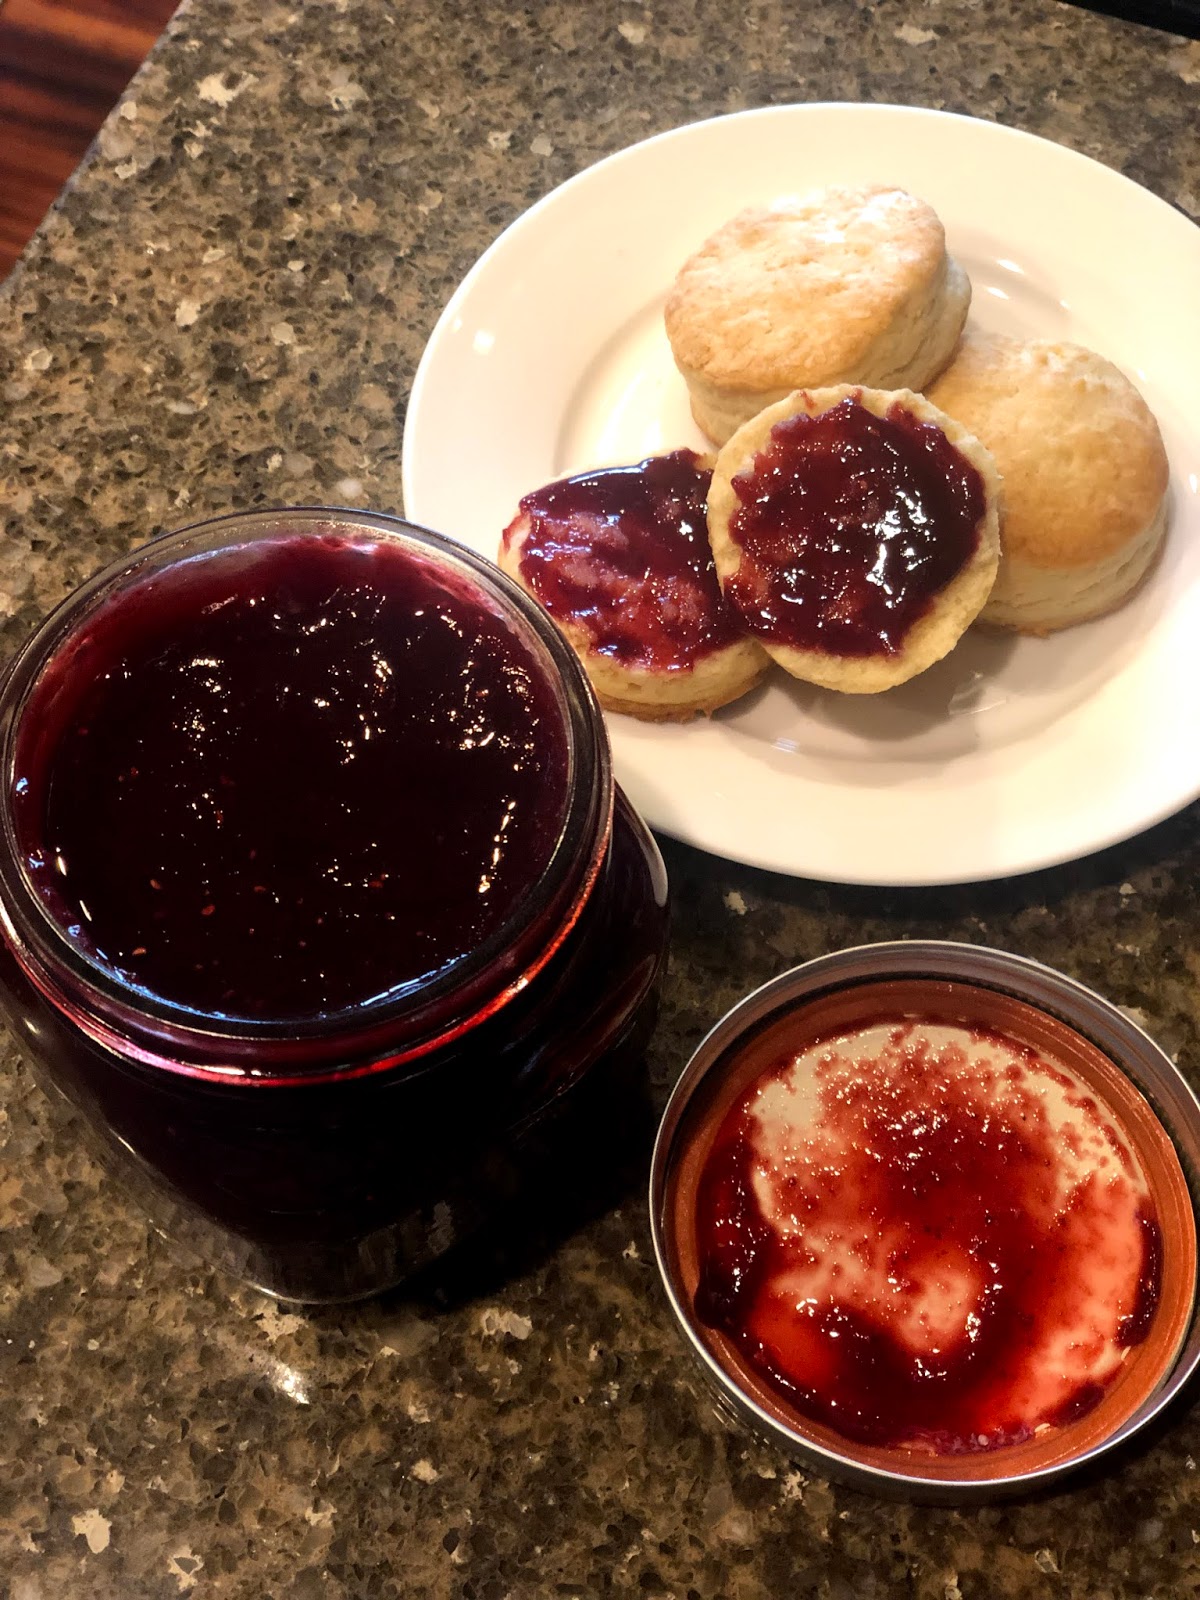
Here is the final product! Delicious homemade jam spread over fresh homemade biscuits. Yum!
Jam Recipe
- 1710g Strawberries
- 494g Rhubarb
- 454g Cherries
- 342g Raspberries
- 1500g Sugar
Clean and chop fruit, then mix in sugar evenly and let it sit covered, in the fridge overnight. Cook the fruit on Medium heat, stirring often, until jam reaches 217 degrees. Use emulsifier to puree jam until smooth, if you don't like big pieces of fruit in your jam. You can also just mash with potato masher to get the fruit smaller but not into a puree. Strain through sieve if you don't like strawberry and raspberry seeds in your jam. Pour into glass jars and turn upside down to heat up the seal. Opened jam needs to be refrigerated, non opened can be kept in your pantry forever.
I weigh all my ingredients using this scale.
Scale
I used this thermometer to measure the temp of my jam.
Thermometer
How to make cream biscuits.


No comments